Attracting a lot of visitors to your new website is never going to be useful if they are not doing what you want them to do. Understanding more about website visitors will help you to produce relevant content. Also, you can know what is stopping visitors from accomplishing your goal.
With the help of web analytics tools, you can very well understand people’s behavior on your site and other information like their gender, device, location, the page they have seen, etc.
These data and reports will help you to make a smarter and efficient decision in optimizing your ad spends and marketing activities. You can also understand what is stopping your customers from buying your product or opting in for your newsletter.
Some of the things that you can learn are:
Who is coming to your site?
Where are they coming from?
What are they doing on your site?
Are they doing what you want them to do?
Which campaign gave you more conversion?

Still, many people are not using any of the web analytics tools because neither they understand their importance nor they know how to use them. The truth is, installing analytics tools like Google Analytics on your site is easy.
In this post, we will be focusing on creating a Google Analytics account and setting up GA on a new WordPress site.
Why Google Analytics
Many analytics tools are available in the market. Such as,
However, Google Analytics has its advantages.
10 million websites use Google Analytics, and you too should fall in this category. This is because it is,
- Powerful
- Easy
- It is FREE!
If you ever wondered how Google Analytics (or any analytical tool) collects data, the answer is a small JavaScript code (you need to add this to your site) and cookies.
Cookies are the small piece of information stored on a computer once a visitor visits your site. These cookies are used to store different information about the visitors, such as the last visited date, log in details, browsing history, and time of the visit, etc.
Creating Google Analytics Account
All you need is a Google account to create a Google Analytics account. You can also use your business email id if you have bought it with Google.
First, go to Google.com then search “Google Analytics” and click the relevant link or directly visit the following link https://analytics.google.com.
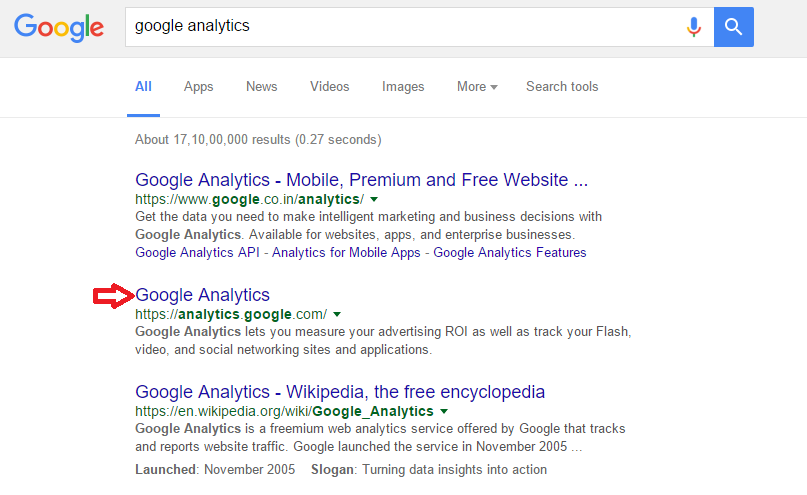
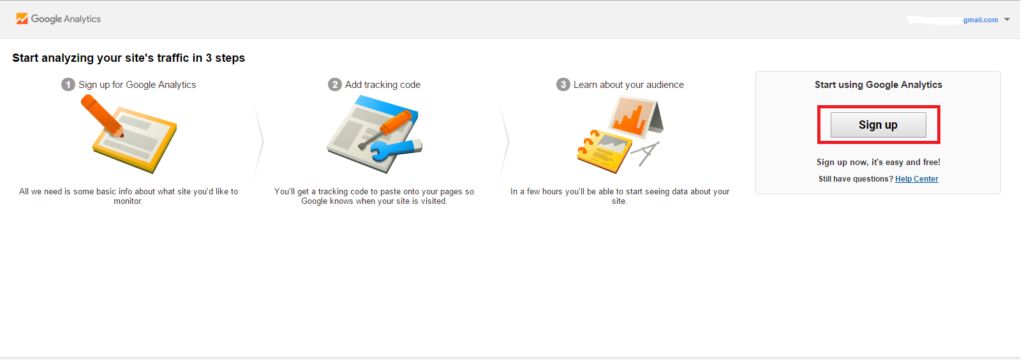
Now click on the Sign Up option and log in to your Google account.
Before proceeding to the next step, understanding the Google Analytics account structure is a must.
Google Analytics is organized into three levels: Account, Property, and View.
Account: Account name implies the company name. Within one Google Analytics account, multiple accounts can be created (up to 100).
Property: Each account (company) can have multiple web properties (up to 50) such as website, mobile app, kiosk, etc.
Say, for example, an e-commerce company may have a website and mobile App. Both the website and mobile App should be regarded as two different properties under one account.
Views: Each property can have multiple views (up to 25). Views are used to separate and filter the original data flowing into the data. ( You can create a filter to exclude people visiting from a particular range of IP addresses).
 In the next step, enter details of the website of the mobile app you want to track.
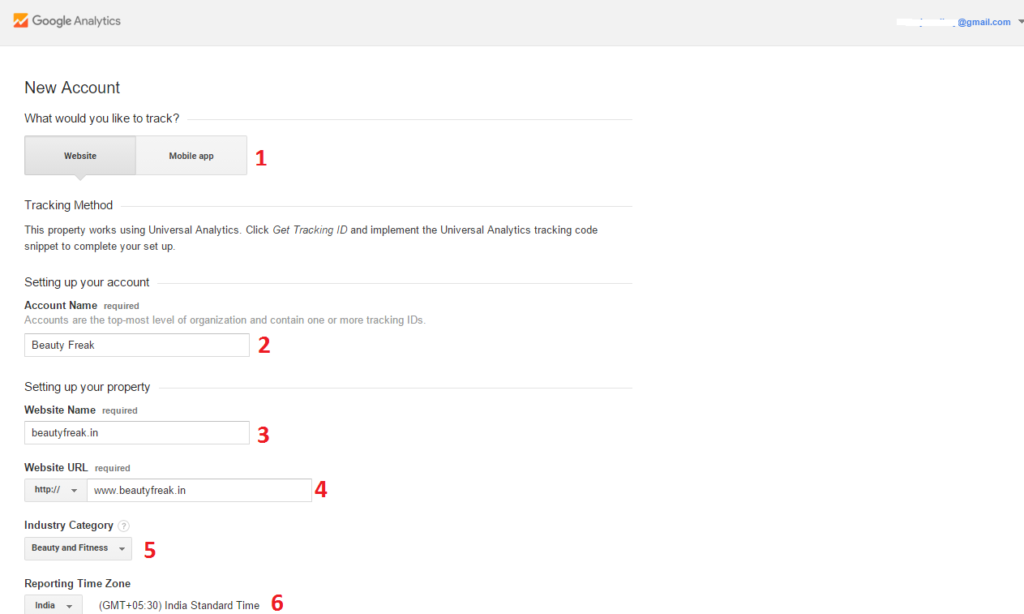
- Choose what you want to track. Either the website or mobile App ( the Default option is a website).
- Enter the account name; you can use your company name for this.
- Each account/company can have multiple properties such as a mobile app and website. Give names like yourcompany-website, yourcompany-App.
- Enter the name of the website you want to track.
- Choose a proper category that suits your website.
- Select the time zone you want the report to appear and click submit.
Once you complete the above steps, you will be provided with the Tracking ID.
![]()
It is unique to the property which you have created. Below that, there will be a tracking code that you have to install on your site.
Depending on the platform you have used to build the website, it will change. We will discuss elaborately how to add tracking code to the WordPress site.
Different Ways to Install Google Analytics Tracking Code To WordPress Websites
1. Theme Options
Most of the paid WordPress themes give the option to add Google Analytics tracking code inside the theme settings itself. But, not all themes have this option.
Read the documentation of the theme you are using and use the option of Google Analytics tracking code if you have one.
2. Plugins
WordPress plugins help to customize websites quickly. Many plugins are available in the WordPress free plugin directory for adding tracking code to the site.
Some of them are Yoast Analytics, Google Analyticator, Google Analytics Dashboard for WP, WP Google Analytics.
Yoast Analytics plugin has over one million active installs with the rating 4 out of 5. This plugin has options for excluding logged-in users, tracking external links, and tracking downloads such as PDF, DOC files.
You can also link to your GA account so that you can see your Analytics data in your WordPress dashboard itself.
Configuring this plugin is quite easy. After you have installed this plugin, navigate to the “Analytics” option in the WordPress dashboard menu, then click “Settings”.
![]()
Two options are provided to install the tracking code.
- Connect your GA account, it will automatically take the code and will insert it on the website (you have to use this feature to use the dashboard option).
- The second option is to enter your UA code (Tracking ID) manually.
You can also select the settings you want like ignoring users, if you are not clear, just leave default settings and save changes.
3. Header and Footer Plugin
Using this plugin, you can add anything in the header and footer of your site such as a script to your site, for example, Google Analytics Tracking, Facebook Pixel, etc.
Post-installation of this plugin navigates to “Settings” in the WordPress dashboard then, just copy and paste the tracking code. It will add that code to the footer of every page of your site.
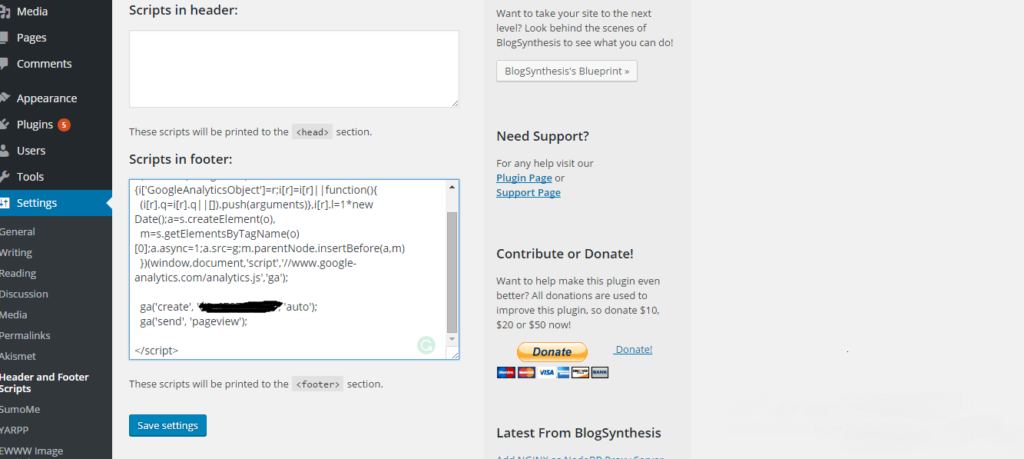
Always insert the scripts in the footer (Adding any scripts to the header of the site may slow down website speed).
4. Add Code Directly
If you are familiar with editing code, you can use this option, but this one is not advisable.
Open the Functions.PHP (find it in the theme editor section) file in the theme section. Copy the GA tracking code and paste after <body > tag.
5. Google Tag Manager
Google tag manager helps you to organize tags on your site. As a beginner, you can safely ignore this step as of now. Later, you can switch to this. You can easily Get Started with Google Tag Manager with the guide by Conversion XL.
When you want to add more tags, that might hurt your site’s speed and performance. But, this tool will help you optimize the site’s performance by reducing loading times drastically.
Site speed will affect your conversion. Amazon says, for every one-second delay in page loading it affects one percent conversion.
eCommerce Tracking Through Google Analytics
The universal basic tracking code is limited to the data collection of the visitors. If you are running an eCommerce store, you need to add extra code and settings.
This additional code will help to know the product performance and the customer journey from visiting the category page to the checkout page.
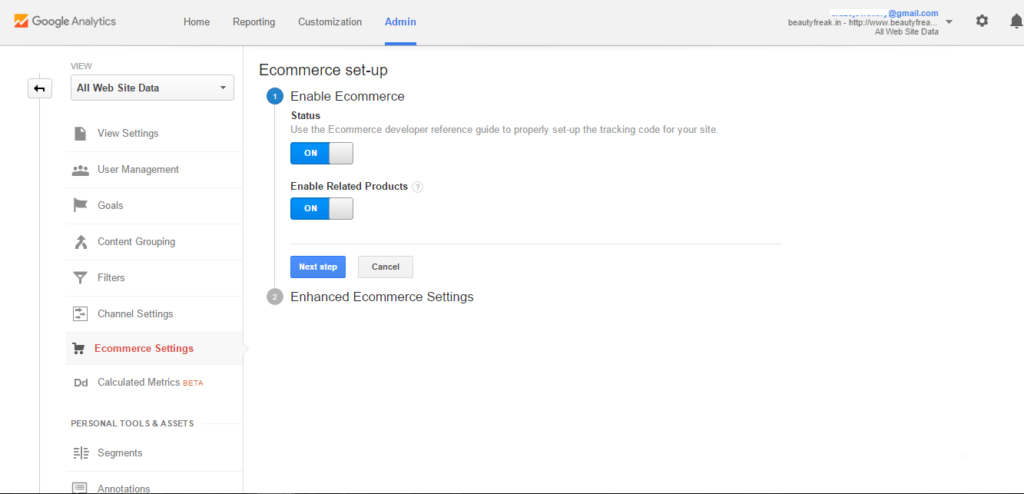
For that, you need to enable eCommerce tracking in Google analytics. Navigate to the Admin section of your GA dashboard, then select Ecommerce Settings.
By default, related products tracking will be in disable mode, turn on that option. Proceed to the next step.
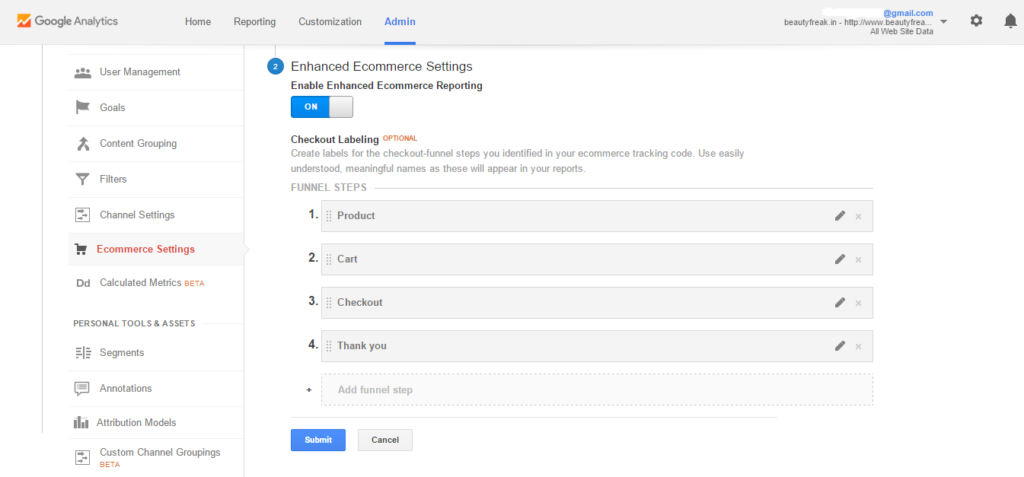
In the next step, enable the enhanced eCommerce reporting option. Make sure you give labels to the customer navigation path in your online store which customer has to go through to complete order.
The usual customer path would be the Category page, Product page, Cart page, Checkout section, and Thank You page.
Define the customer funnel on your site so that you can understand which funneling stage has more leakage and fix it.
Once you have completed the above step, you need to implement code to send data from your site to Google Analytics.
You can send the following link from your developer to implement on your site. Otherwise, you can hire someone from sites like UpWork, PeoplePerHour for the minimum per hour rate to do this task for you.
If you have used WordPress WooCommerce to build your online store, Enhanced Ecommerce Google Analytics for Woocommerce Store plugin enables you to do the same.
Once this plug-in is installed, you will be getting options in the settings and you can configure it quickly.
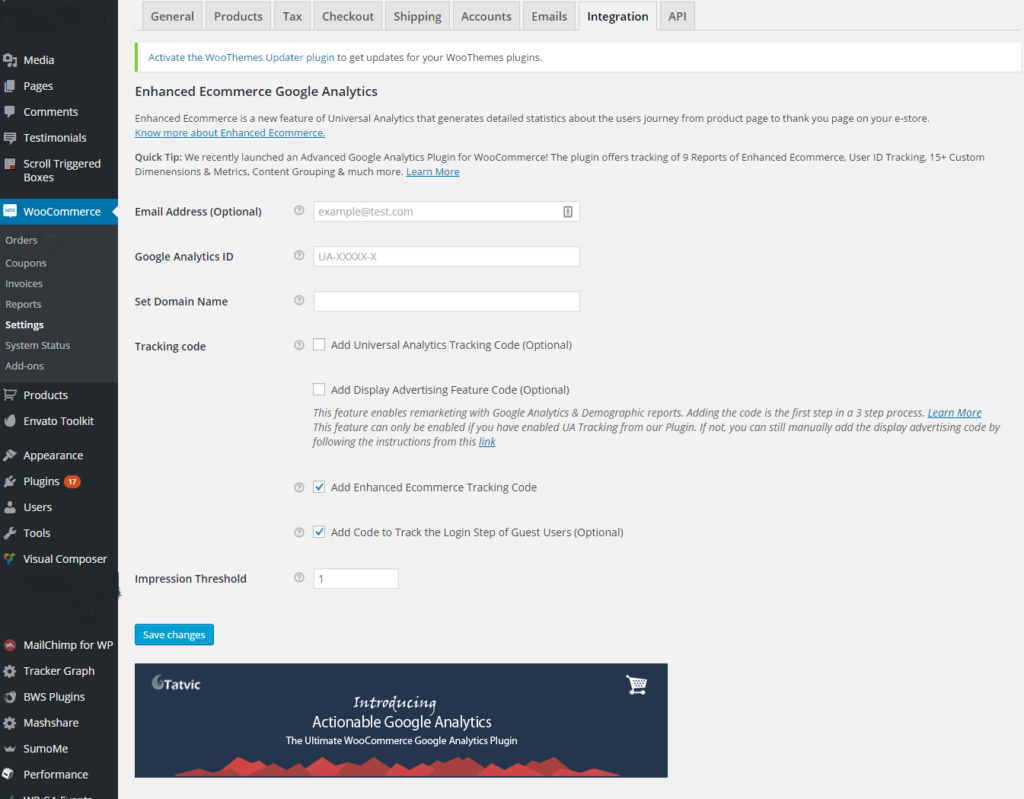
Enter your UA code and website name, check the Add enhanced E-commerce tracking code option. Unselect “Add universal tracking code” as you have already installed that code, you need not add it again.
How to Check Google Analytics is Collecting Data or Not?
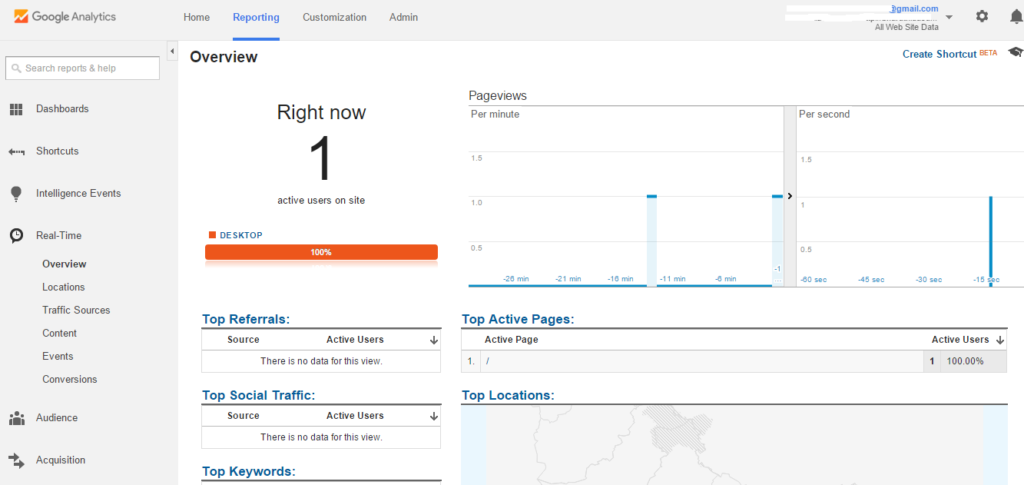
A simple way to check whether Google Analytics is receiving data or not is by opening an incognito window and then going to your site.
Now, you can see one active user in the Real-Time dashboard of Google Analytics which means GA is receiving your website data correctly.
If you have done these so far, congratulate yourself. You have installed Google Analytics code on your website successfully.
But, sometimes, you might not have got the data even though you completed the above steps. Learn how to debug the google analytics tracking code in the next section.
Debugging Google Analytics Tracking Code
If you are not receiving data, it might be because of the following reasons.
- The code might not have implemented correctly. You might have made some typo error. Check with your Tracking ID and the tracking code added to your site.
- You can check whether you have added a code or not. Clear cache and try again.
- To check whether you have implemented Google Analytics correctly, install the chrome extension, and try. Google Analytics Debugger Google Chrome extension.
Get Clean Data – Filter Internal Traffic
By default, Google Analytics will create one view name “All Web Site Data” which contains data about all the traffic to your site.
But when you want to understand about all visitors/customers you must exclude traffic from your company’s internal people like your developers, marketers, and admins.
For that, you need to create a filter to remove those visits. Google Analytics (GA) gives the option to filter the visits based on the attributes you specify. But, this option will permanently delete data from your account. So, it is recommended to have a backup of your website visitors’ data.
Create a new view in the GA dashboard by following the given steps and create a filter in that view to filter out traffic from your company.
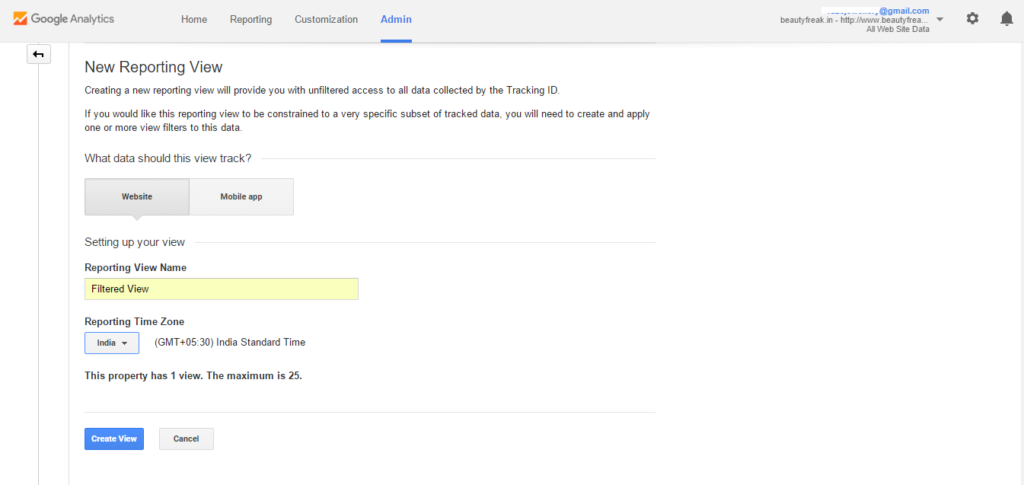
Creating New View In Google Analytics
- Click Admin
- Select Views, then click new view
- Give a name to the new reporting view and select Time Zone
- Click Create view.
Next, select the new view you have created, and create a new filter using the following steps.
Creating a New Filter in Google Analytics
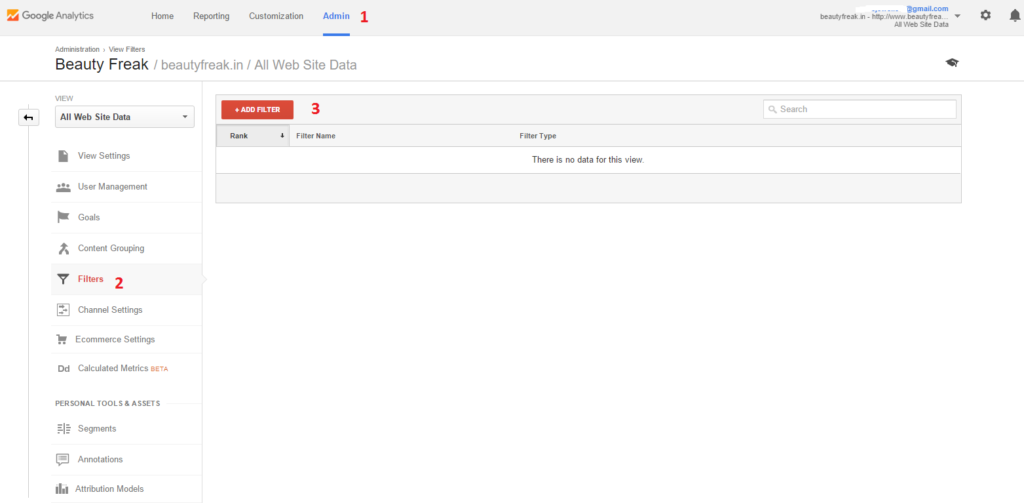
- Click on the Admin
- Then navigate to Filters (In View section)
- Click Add Filter to create a new filter.
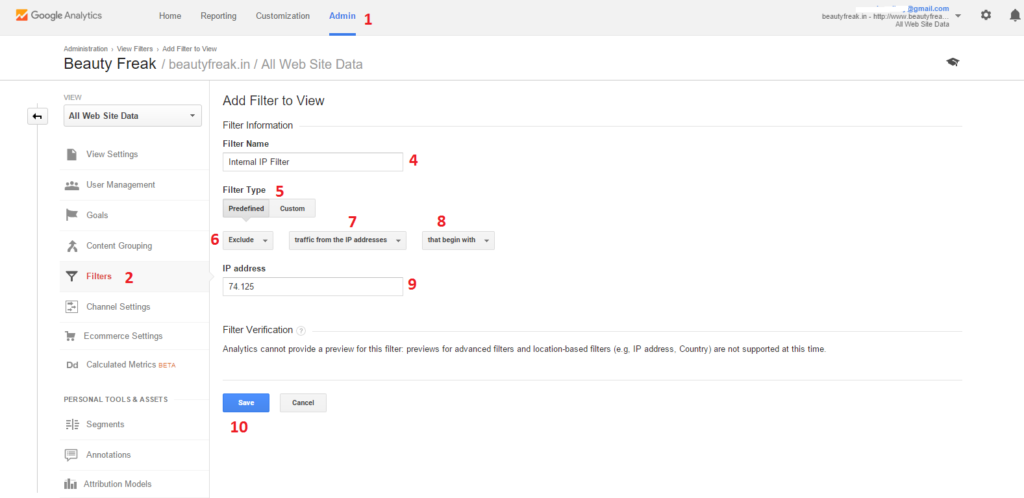
- Give a name to the filter ( make sure it is easy to identify)
- In the type of filters option – Choose Predefined
- Choose to exclude option for removing traffic
- Select the “Traffic from the IP Address”. As we are going to eliminate traffic from your company IP address range.
- Select “Begins With” to cover the wide range of IP, that covers over all your company IP address.
- You can find your IP address by searching “What is my IP” in Google. If your company’s overall IP is not changing in the first two parts of the IP address, then enter that. For example, if your company IP address always starts with 74.125 then enter this.
- Next click Save. Now, you have successfully created a filter to exclude traffic from your company.
- But, make sure that you often check this IP address range in case the range differs from the previous one.
Conclusion
Enjoy analyzing. Struck with any of the above steps? Or have any questions about setting up google analytics? Comment here or mail me.